Kitchen Gardening for Beginners: A Simple Guide to Growing Your Own Food
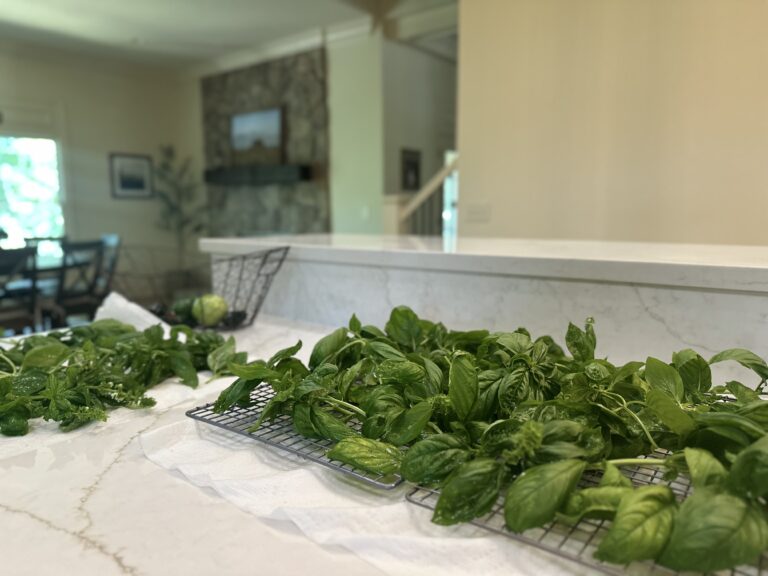
There is something very satisfying — and honestly a little addictive — about stepping outside your back door, snipping fresh basil, and tossing it straight into dinner. Or pulling your first tomato off the vine and thinking, Well look at me… I grow food now.
If you’re brand new to kitchen gardening, welcome. You’re about to eat fresher food, save a little money, and pick up a hobby that somehow manages to feel productive and calming at the same time. And no, you don’t need a huge garden, fancy tools, or years of experience. You just need a simple setup, the right plants, and a willingness to learn as you go.
Trust me — if I can do this, you absolutely can too.
What Is a Kitchen Garden, Really?
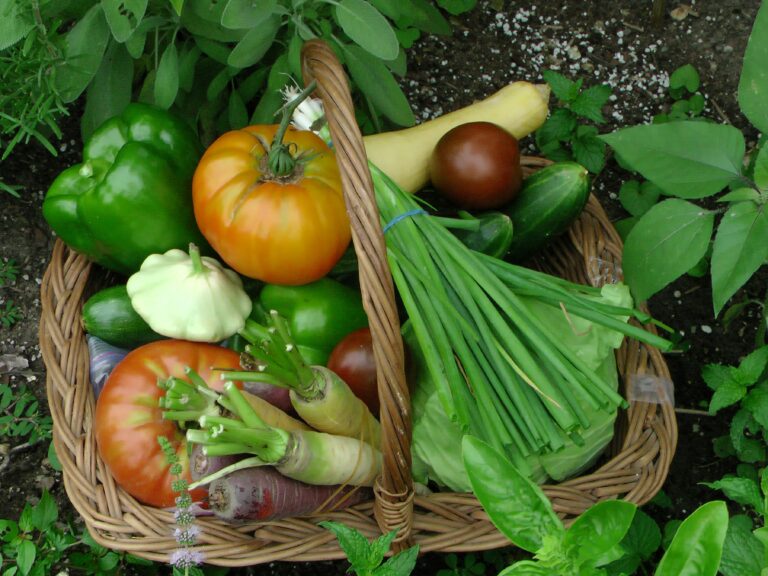
A kitchen garden is exactly what it sounds like: a small, intentional garden focused on growing the things you actually use in your everyday cooking.
Think:
- Fresh herbs
- Leafy greens
- Cherry tomatoes
- Peppers
- A few reliable vegetables you reach for all the time
It’s not a farm. It’s not meant to be overwhelming. It’s your personal, homegrown pantry — practical, manageable, and incredibly useful.

Step 1: Choose the Right Spot
This is where beginners tend to overthink things. Don’t.
Your kitchen garden needs two things:
Sunlight
Most vegetables and herbs need 6–8 hours of sunlight a day. Morning sun is ideal, but anything consistent works. South-facing spots are usually the best option.
If you’re short on sun, don’t panic. Herbs and leafy greens are more forgiving than fruiting plants like tomatoes.
Easy Access
This matters more than people realize.
If your garden is tucked way back behind the shed, past the kids’ toys, and across half the yard, you won’t use it. Kitchen gardens work best when they’re close — near your kitchen, patio, or back door — somewhere you’ll naturally walk by.
The easier it is to reach, the more you’ll harvest.

Step 2: Start Small (Smaller Than You Think)
I get it. We all want to grow everything — tomatoes, peppers, cucumbers, squash, herbs, strawberries, maybe a pumpkin just for fun.
But here’s the truth:
Small = easier.
Easier = success.
Success = you actually sticking with it.
A great beginner setup looks like this:
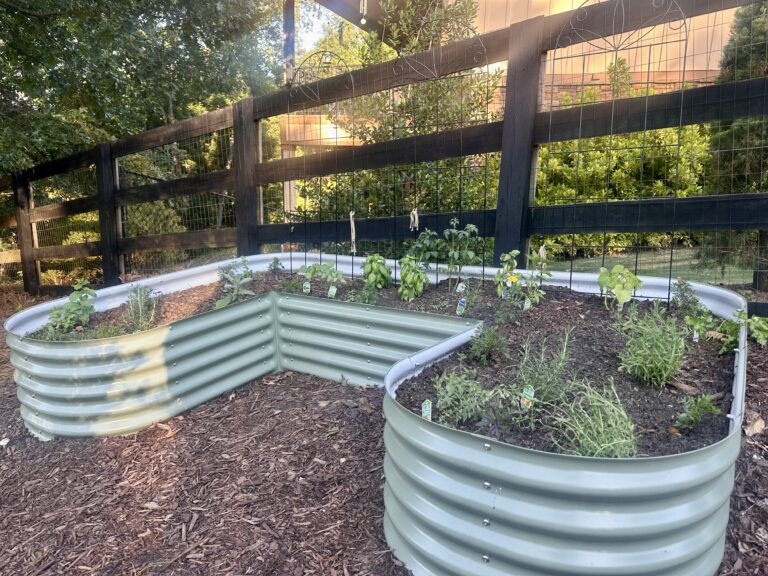
- One raised bed (3×6 or 4×8)
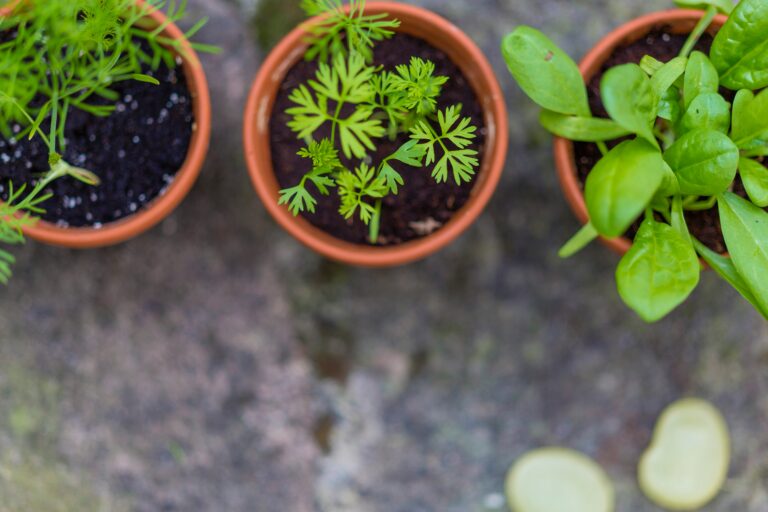
- A few large pots for herbs
- One small spot for flowers (because happy gardeners grow better gardens)
And yes — herbs absolutely count as gardening.
Step 3: Pick the Right Soil (This Is Non-Negotiable)
If you take nothing else from this post, take this:
Soil matters more than anything you plant.
Here’s what to use:
- Raised beds: High-quality raised bed mix
- Containers: Potting mix (not garden soil)
- In-ground beds: Existing soil amended with compost and shredded leaves
And please hear me on this:
Do not use topsoil or anything labeled “garden soil” in pots or raised beds. It compacts, drains poorly, and will make you question your life choices by mid-summer.
Good soil fixes more problems than any fertilizer ever will.


Step 4: Choose Beginner-Friendly Plants
This is where new gardeners either gain confidence or get frustrated fast. The key is choosing beginner-friendly plants that actually want to grow.
Easy Vegetables for Beginners
- Cherry tomatoes
- Peppers (yes, they really are easy)
- Lettuce
- Green beans
- Cucumbers (give them a trellis and they’ll happily climb)
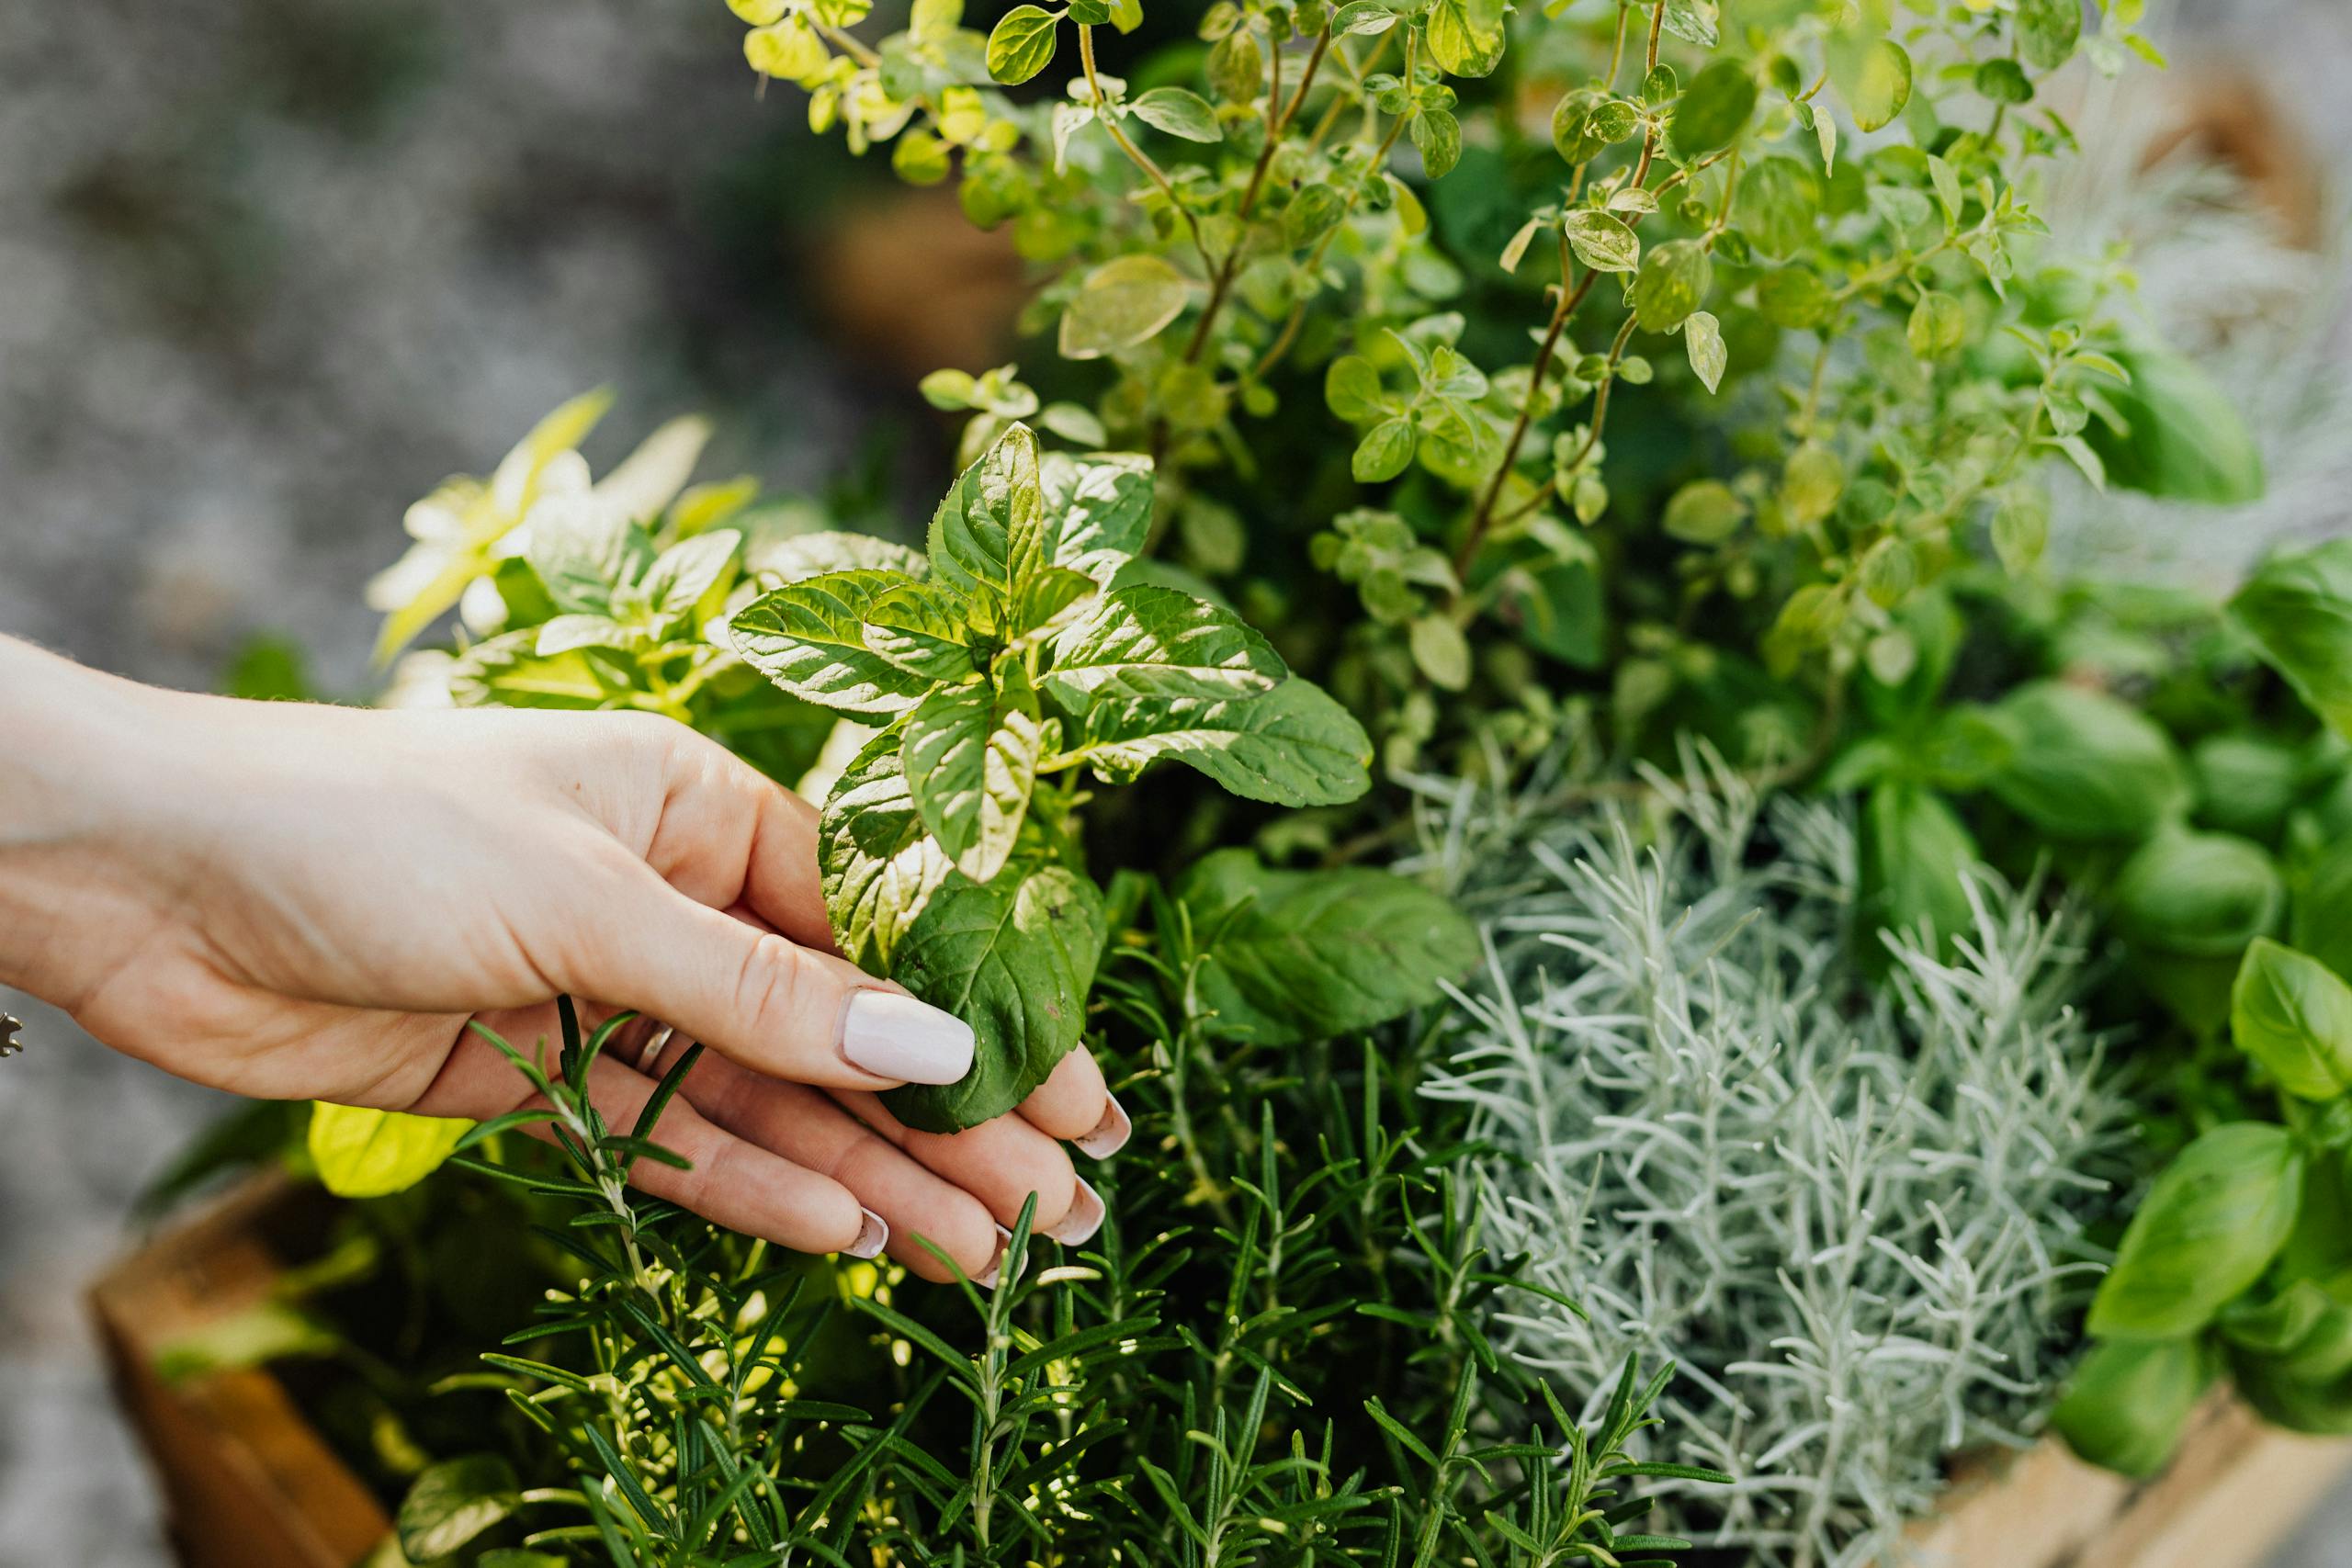
Easy Herbs to Start With
- Basil
- Rosemary
- Thyme
- Oregano
- Parsley
- Mint (plant this one in a pot unless you want it everywhere)
These plants are forgiving, productive, and great confidence-builders.

Step 5: Watering and Fertilizing (Keep It Simple)
Plants are not fragile little babies — they just like consistency.
Watering Basics
- Aim for about 1 inch of water per week
- Water deeply so roots grow strong
- Morning is best
- Soil should feel like a wrung-out sponge
If you’re watering every day, you’re probably overdoing it.
Fertilizing
This is where beginners forget — and then wonder why their basil looks sad.
Use a simple organic fertilizer every 2–4 weeks, especially for vegetables and herbs in containers.
That’s it. No complicated schedules required.
Step 6: Keep Pests in Check (Without Losing Your Mind)
You will lose a little lettuce to slugs. Basil will get a few holes. A squirrel may steal something just because it can.
That’s normal.
My rule:
If it isn’t destroying the plant, I don’t stress about it.
For bigger problems:
- Neem oil for most leaf-chewers
- Netting for critters
- Hand-picking caterpillars (not fun, but effective)
You do not need to spray your entire garden with chemicals. (That kind of defeats the purpose of growing your own, healthy food doesn’t it?) Most issues are manageable with a little attention.

Step 7: Harvest Often (This Is the Fun Part)
Kitchen gardens thrive when you use them.
- Pick herbs often — it makes them grow bushier
- Harvest lettuce from the outside leaves
- Snip cherry tomatoes as they ripen
- Don’t let zucchini turn into a baseball bat
The more you harvest, the more your plants will produce.
Step 8: Learn As You Go (The Real Secret)
Every gardener learns by doing. You will make mistakes.
You’ll overwater something. You’ll forget to water something else. You’ll plant things too close together or grow way more than you planned.
That’s how you learn. That is how I’m learning.
A kitchen garden isn’t just about food. It’s about getting outside, slowing down, and realizing you’re more capable than you think.
And once you start cooking with what you grow, it’s really hard to go back. Trust me!
If you’re just starting out, keep it simple. Choose a few easy plants, give them decent soil and sunlight, and let yourself learn along the way.
You don’t need perfection — you just need to start.